The theme: Salvation History via the ancient symbolism of the Jesse Tree – except, instead of a tree, we used a tea!
 |
| The Goodies |
2. “Adam’s Apple” (Genesis 3: 6) – APPLE with 1 gummy worm (the girls opted for quartered apples)
3. “Noah’s Ark” (Genesis 9: 12-17) – 3 GUMMY WORMS in rainbow
4. Abraham’s Stars (Genesis 15: 5) – CUT THE APPLE during the presentation to show the star
5. “Isaac’s Bundle of Sticks” (Genesis 22: 6) – 8 PRETZEL STICKS
6. “Jacob’s Ladder” (Genesis 28: 12) – Same pretzel sticks, built into a ladder
(isn’t it interesting how God can take our weaknesses and turn them into strengths? *HE* can work all things for good…. so we can re-use these same objects to show us something new and better)
7. “Joseph’s Coat of Many Colors” (Genesis 37: 3-4) – 4 GUMMY WORMS (2 folded in half for the “body”, with one on each side bent at 90 degrees bottom half as part of the body, top half as the arms extending out)
8. “The Burning Bush” (Exodus 3: 2-3) – BROCCOLI AND RANCH (3/4 cup of ranch is dyed with 1/2 tsp turmeric to show the “fire”)
9. “Moses’ Tablets of the Law” (Exodus 34: 1) – MILANOS (we did raspberry/chocolate – YUM – and least cost per ounce)
10. “The Root of Jesse” (Isaiah 11: 1 and 10) – CARROTS
11. “David’s Star Tea Sandwiches” (1 Samuel 17: 12-51) – STAR-SHAPED SANDWICHES – cut into triangles then top half turned to create 6-pointed star.
12. “Bethlehem, House of Bread” (Matthew 2: 5-6) – DONUT HOLES (could have made scones or small biscuits – short on time and the donut holes were calling my name)
13. “John the Baptist’s Honey” (Luke 1: 41; Matthew 3: 3) – HONEY in tea (could have had honey on biscuits/scones if I’d made those)
14. “Angelic Messengers” (recall various angelic messengers we know about in the Bible) – ANGEL-SHAPED SANDWICHES – cookie cutter
15. “Pure White Cakes for Our Blessed Mother” or “Flowers of Jesse” or both – TOMATO AND CELERY for flowers (thought about doing a white frosting made of cream cheese, powdered sugar, touch of milk, homemade vanilla – spread on graham crackers, but with the donut holes instead of bread, thought against it this time)
Left-overs and bread trimmings? Went to the “boys” (my son; the father and brother of one of the girls at the tea party — who all went off for a few hours so we girls could just be girly — in our fancy hats!)
Hm. No picture of me. I had a santa hat because my two fancy hats were on loan.
 |
| The Ladies |
 |
| The Ladies again couldn’t decide which I liked best |
 |
| Best Jacob’s Ladder constructed with pretzel sticks |
 |
| “This sandwich is SO GOOOOOOD!!!!” (apparently so is the white-sprinkled chocolate donut hole |
 |
| This young lady is so full of joy - she finds it everywhere - and spreads it everywhere! |
 |
| AHA! She CAN be serious! |
 |
| but apparently not for long (she was tipped sideways to sneak into another picture for this one) LOVE her 3rd lip there |
 |
| Enjoying the tea-party |
 |
| So sweet!And such shining eyes |
 |
| Trying to avoid her photo being taken.Gotcha anyway! |
Thank you everyone for coming!
Have a wonderful remainder of Advent and a fantastic Christmas season!
God bless!
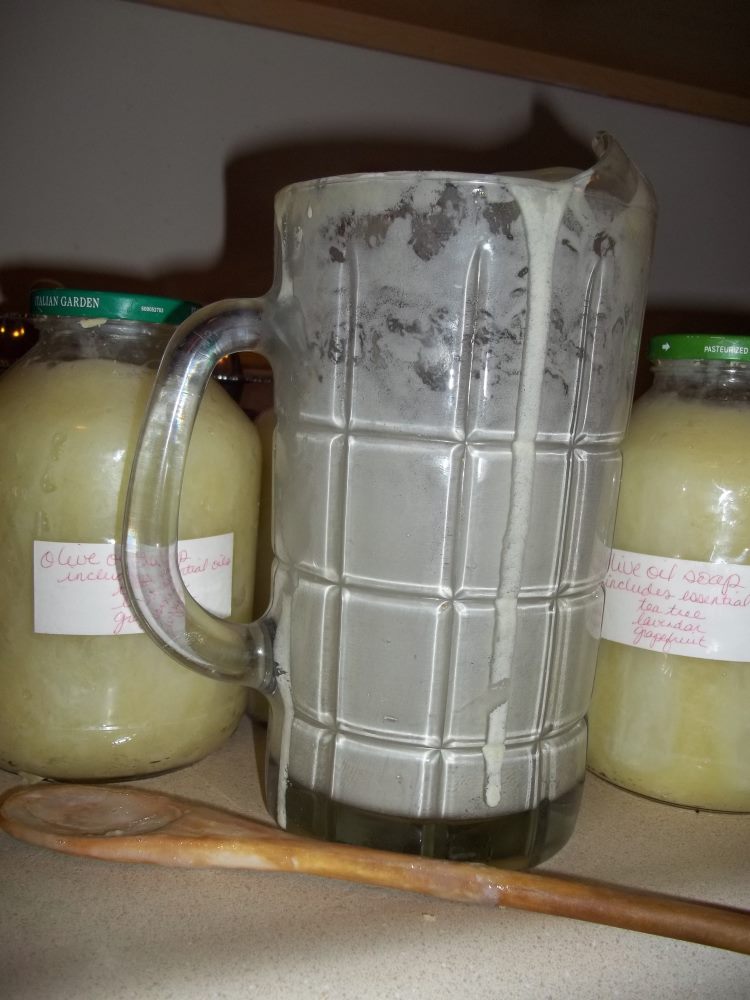 Those of you who visit my home and recognize the pitcher: Rest assured I do watch it. Remember that my alternate dish soap is this SAME soap plus coconut oil soap. It's JUST soap ;)[/caption]
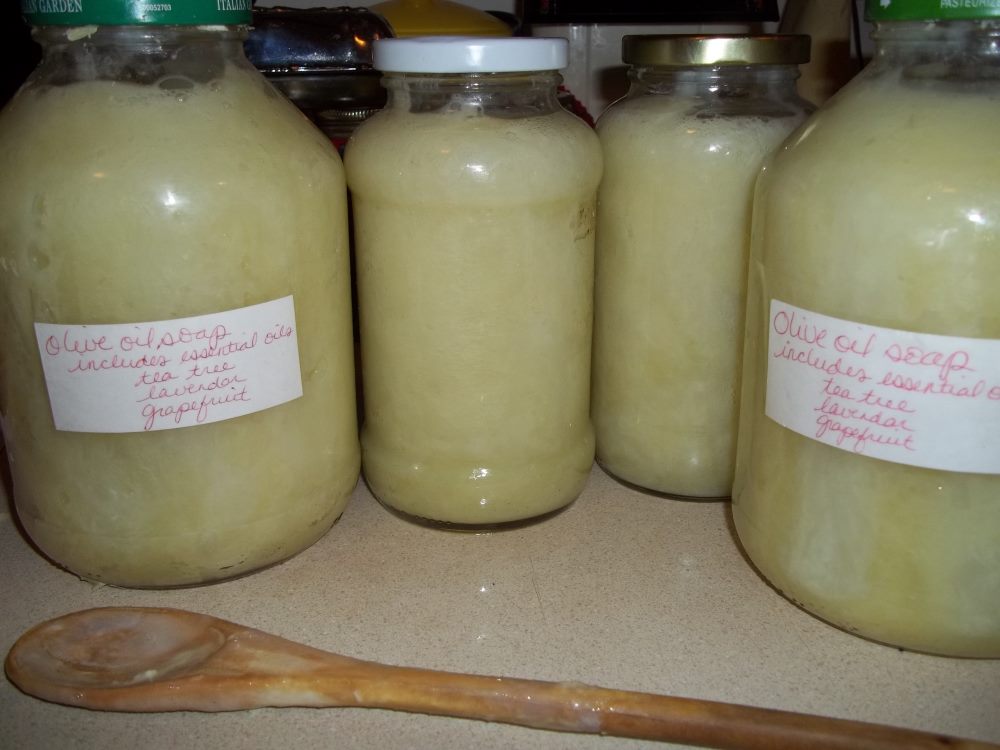 I had 2 more of the "smaller" jars as well. From that one pitcher of soap!!![/caption]